
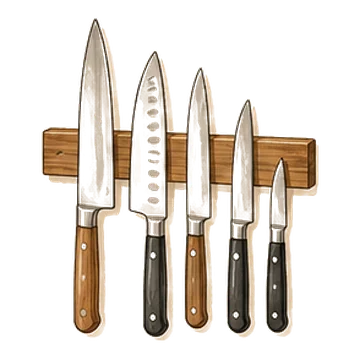
HOSHANHO 16 inch magnetic knife strip
A 16 inch magnetic strip that moves knives off the counter and onto the wall.
Check priceA small kitchen rarely needs more cabinets. It needs fewer things in the best spots, a clear job for every zone and a few organizers chosen after you measure. This guide walks through each zone, from the counter to the cabinet under the sink, and points you to a deeper guide for each one.
As an Amazon Associate I earn from qualifying purchases. Links on this page are affiliate links: if you buy through them, I may earn a small commission at no extra cost to you.

Organizing a small kitchen goes faster when you work in the right order. Buying bins first is the most common way to end up with a cabinet full of organizers and the same clutter as before. Edit first, measure second and shop last.
Plan on one weekend for a typical apartment kitchen, or break the job into 30 to 60 minute sessions, one zone at a time. The counters and the drawer next to the stove give the fastest payoff, so start there and you will feel the difference the same evening.
Every idea below rests on one principle: prime space. The shelves and drawers between roughly hip and shoulder height, closest to where you actually cook, are the most valuable storage you have. Things you use every day belong there. Things you use once a month go up high, down low or out of the kitchen altogether.
Use these five steps for each zone, whether it is a single drawer or the whole pantry.
Counter space is the scarcest thing in a small kitchen, and it fills up the fastest. Standard counters are about 25 inches deep and 36 inches high, and most real work happens in the front 12 to 15 inches. Every item parked along the backsplash still takes depth you could be chopping on.
A good rule is to keep only what you use every day on the counter, and to keep it in one or two defined spots. A coffee corner and a small cooking zone beside the stove work far better than ten items spread along the wall. Corral oils, salt and a utensil crock on a tray so the whole group lifts off in one move when you wipe down.
The wall between the counter and the upper cabinets, usually about 18 inches tall, is the most underused storage in the room. A rail with hooks, a narrow shelf or the HOSHANHO 16 inch magnetic knife strip moves things off the work surface entirely. A knife block alone can take a surprising share of counter depth.
Our full guide to small kitchen counter organization covers what to keep out, how to group appliances, and how to use the backsplash and the space over the sink.

Renting usually means no new shelves, no drilled holes and no swapping out cabinets, but it still leaves plenty to work with. Renter-friendly storage hangs over doors, sticks on with removable adhesive, stands on its own or rolls on wheels.
Adhesive hooks are the workhorse. Clear adhesive wall hooks, heavy duty, 12 pack hold towels, oven mitts and utensils on the side of a cabinet or the inside of a door without a drill. Before you stick anything to a painted wall, check your lease and test one hook in a hidden spot, since adhesive can pull paint if it is removed the wrong way.
Freestanding pieces do the heavy lifting: a rolling cart, a bakers rack, a stackable shelf on the counter or a riser inside a cabinet. When you move, they come with you, and nothing needs patching. Shelf liner protects the landlord's cabinets from scratches and spills and lifts out cleanly.
The guide to kitchen storage ideas for renters goes through every no-drill option, from door racks to peel and stick fixes, and how to take each one down cleanly at move-out.
The sink base is often the widest cabinet in a small kitchen, commonly 30 to 36 inches wide, yet it holds the least because of the drain, the water lines and sometimes a garbage disposal. Treat it as two side zones with a pipe zone in the middle, not as one big box.
Start by measuring the height under the drain trap and the width on each side of the pipes. Those three numbers decide what fits. An L-shaped organizer such as the L-shaped 2-tier pull-out under-sink organizer wraps around the plumbing, and pull-out baskets bring bottles from the back within reach.
Keep only cleaning supplies and the things you use at the sink: dish soap refills, sponges, dishwasher pods, trash bags and a small bucket. Keep cleaners grouped together and away from food. If young children live with you, add a cabinet lock, since this is where most homes keep their cleaners.
A waterproof mat on the cabinet floor catches small drips before they reach the wood, and it makes a slow leak easy to spot. Our under sink kitchen organization guide covers layouts for single and double sinks, with and without a disposal.
A small pantry, whether it is a reach-in closet or a single tall cabinet, works best when you can see everything at once. Deep shelves are the real problem: food slides to the back, gets forgotten and gets bought again.
Three tools fix most of that. Clear bins group like items and pull out like drawers, so the back of a shelf is one tug away. Risers or stepped shelves lift the back rows into view. A can rack like the Simple Houseware 3-tier stackable can rack holds up to 36 cans with every label facing out.
Sort by category and by how often you reach for it: breakfast, snacks, baking, dinner staples and backstock. Put snacks and breakfast at eye level, heavy items such as flour and bulk rice on low shelves, and backstock up high. A standard 15 ounce can is about 4.5 inches tall, so a shelf with 12 inches of clearance can usually take two rows, one on a riser.
Label the front edge of every bin with its category, not its contents. A bin marked baking can take a new bag of chocolate chips without a new label, and everyone in the house knows where things go back.
Our small pantry organization guide covers shelf-by-shelf layouts, when decanting is worth it and how to put the back of the pantry door to work.

In a small kitchen, drawers often do more work than cabinets, because you look down into them and see everything at once. The goal is one job per drawer and a divider for every category inside it.
Measure the inside of each drawer from wall to wall and front to back, then check the usable height under the counter lip. Expandable trays, such as the Pipishell expandable bamboo silverware organizer, stretch to fit the drawer from side to side, so nothing slides around and no strip of space goes to waste.
Put silverware in the drawer nearest the dishwasher or dish rack, cooking utensils in the one beside the stove, and pots, plates or food storage containers in a deep drawer. Keep one drawer, and only one, for the odds and ends every home collects, and give it small trays too.
Deep drawers are often the best home for everyday plates and bowls, especially if kids set the table and cannot reach the upper cabinets. A pegged insert or a few sturdy dividers keep the stacks from sliding every time the drawer opens.
Our guide to kitchen drawer organization for small spaces covers utensil drawers, deep drawers and how to store plates, lids and containers in them.
Plenty of apartment kitchens have no pantry at all. The fix is to build one out of the space you do have, then make it easy to see and reach.
Pick one cabinet, ideally the one closest to where you prep, and make it the food cabinet. Clear bins and a turntable keep it from turning into a pile. Then look for found space: the gap between the fridge and the wall, the back of a door, and the top of the fridge for light, rarely used items.
A rolling cart such as the Simple Houseware 3-tier heavy-duty rolling cart, white is made to slide in beside the fridge. On a door, the JARLINK 5-shelf over-the-door organizer holds cans, jars and snacks with no drilling. Check that the door still closes fully and that the hooks do not rub the frame.
The guide to how to organize a kitchen with no pantry covers which foods to store where, how to split them across cabinets and how to stop the overflow from creeping onto the counter.
Inside the cabinets, height is the space most often wasted. Upper cabinet shelves are commonly spaced 10 to 12 inches apart, while a stack of everyday plates needs far less. A shelf riser splits one tall shelf into two short ones, so plates sit underneath and bowls or mugs sit on top.
Lower cabinets have the opposite problem. At about 24 inches deep, their back half turns into a cave. Filing pans upright in a rack, or adding a pull-out drawer, means nothing hides behind anything else and you never unstack four pans to reach one.
Then look past the cabinets. The inside of a cabinet door can hold pot lids, wraps or a cutting board. The tops of upper cabinets suit platters and seasonal items kept in a bin, as long as you own a sturdy step stool. The side of a cabinet run or the fridge can take hooks for towels and oven mitts.
Keep an eye on weight. Doors, adhesive hooks and over-the-door racks are for light things. Cast iron, stacks of plates and bulk bags of flour belong on a solid shelf.
The right organizer solves a problem you can name. A few types earn their space in nearly every small kitchen, and they are worth buying in roughly this order, once you have edited and measured.
Skip organizers that solve a problem you do not have. A gadget made for a single food, canisters for staples you never buy, or bins too big to lift when full add clutter instead of removing it. If an organizer is still empty a month after it arrives, return it.

You do not have to do everything at once. The free steps come first because they make the biggest difference, and each tier builds on the one before it.
Spend first where you feel friction every day. If the silverware drawer jams each morning, it gets the first tray, even if the pantry looks worse. Matching bins look lovely, but a drawer that closes is worth more.
If you rent, everything in the free, low and medium tiers can come with you when you move. If you own your home, the splurge tier is where pull-out drawers fitted to deep base cabinets make the biggest single change, because the back half of those cabinets finally becomes usable.
Most small kitchens slide back into clutter for the same handful of reasons, and each one has a simple fix.
To keep the system working, give the kitchen ten minutes each night. Put away anything left on the counter, load or empty the dishwasher, wipe the surfaces and clear the sink. Once a week, before you shop, check the fridge and the pantry for anything expired or doubled up.
A 16 inch magnetic strip that moves knives off the counter and onto the wall.
Check price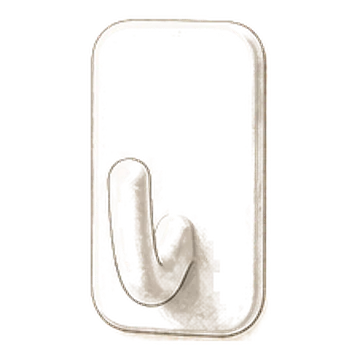
Clear no-drill hooks for towels, mitts and utensils.
Check price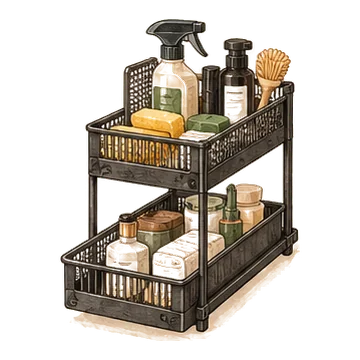
An L-shaped two-tier organizer with pull-out baskets that works around sink pipes.
Check price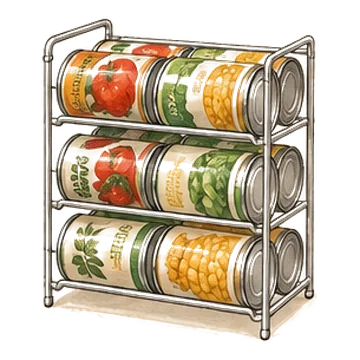
A stackable three-tier rack that holds up to 36 cans so every label faces out.
Check price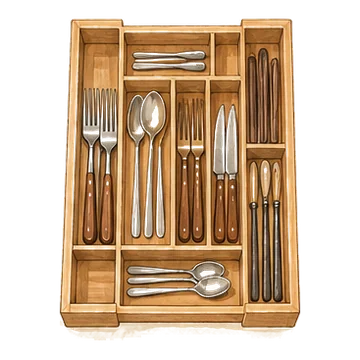
A bamboo drawer tray that expands to fit the drawer wall to wall.
Check price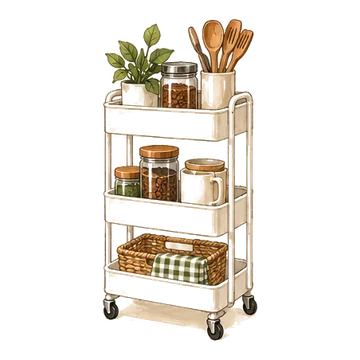
A white metal three-tier cart that adds pantry space between the fridge and wall.
Check price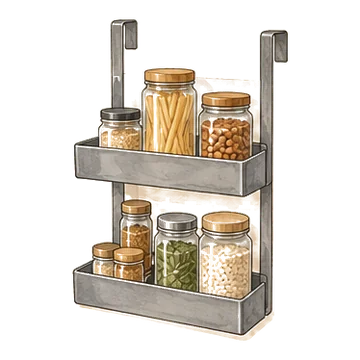
A five-shelf rack that hangs on a door for cans, jars and snacks.
Check price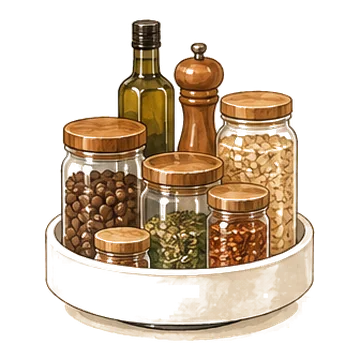
An 18 inch non-slip turntable that spins so nothing gets lost at the back of a cabinet.
Check priceStart by editing, not buying. Empty one zone at a time, keep the best of any duplicates and move rarely used items out of prime space. Then measure and add organizers only where a problem remains.
Only what you use every day, such as the coffee maker, a utensil crock and cooking oils, grouped in one or two spots. Everything else goes in a cabinet, on the wall or on a cart.
Turn the cabinet closest to your prep area into a food cabinet, then add found space: a rolling cart beside the fridge, an over-the-door rack and the top of the fridge for light items.
Use over-the-door racks, removable adhesive hooks, freestanding shelves, rolling carts and cabinet risers. Check your lease and test adhesives in a hidden spot first.
A typical apartment kitchen takes about a weekend. You can also work in 30 to 60 minute sessions, one drawer, cabinet or stretch of counter at a time.
It depends on the problem, but expandable drawer trays, a turntable and clear bins help in almost every small kitchen. Measure the space before buying any of them.


