
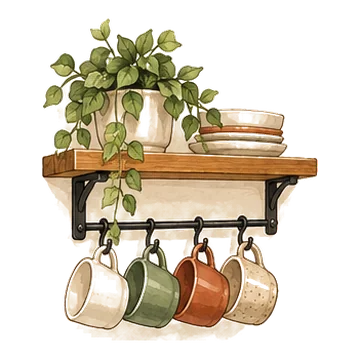
Floating wall shelves with 10 mug hooks
Floating shelves with adjustable hooks underneath, made for a coffee nook.
Check priceA good coffee shelf does two jobs: it gets mugs, beans and syrups off the counter, and it leaves enough room above the brewer to actually use it. This guide covers the shelf types that work in small kitchens, the measurements that matter, and how to load each level so mornings stay easy.
As an Amazon Associate I earn from qualifying purchases. Links on this page are affiliate links: if you buy through them, I may earn a small commission at no extra cost to you.

Part of our guide: Coffee Bar Ideas for Small Spaces: Layouts That Fit →
Most coffee bar shelves fall into three groups: floating shelves on the wall above the brewer, tiered shelves that sit on the counter, and freestanding racks that stand on the floor. Which one fits depends on whether you can drill, how much counter you have and how tall your coffee maker is.
If you can drill, floating shelves above the brewer give the most storage for the least counter. If you rent, a two-tier countertop shelf doubles the usable surface without touching the wall. If the counter is full, a narrow rack beside the fridge can hold the whole setup.
Whichever you choose, measure the brewer with its lid or water tank open before you buy anything. That one number decides where the first shelf can go.
A standard kitchen counter is 36 inches high and about 25 inches deep, and upper cabinets usually start about 18 inches above the counter. Those numbers are a useful starting point, but your brewer, not the cabinet line, sets the height of the first shelf.
Measure the coffee maker from the counter to its highest point with every lid, hopper or tank opened as far as it goes. Many single-serve brewers load from the top, and the open lid needs several more inches than the closed machine. Add about 3 inches for your hand and for steam, and that is the lowest your first shelf should sit.
Then measure what will live on the shelves. Most 12-ounce mugs stand about 4 inches tall, while canisters and syrup bottles often run 7 to 10 inches. Leave 2 to 3 inches above the tallest item so you can lift it off without tipping it.
Depth matters as much as height. A shelf 8 to 10 inches deep holds a row of mugs and canisters without looming over the brewer. Go much deeper than 12 inches above a counter and the shelf starts to hide the machine and catch your head when you lean in.
For two shelves, a simple layout is the first one 18 to 20 inches above the counter, or higher if your brewer needs it, and the second 12 to 14 inches above that. Keep daily items no higher than eye level. Anything above that is backstock.
Match the shelf width to the setup below it. A coffee maker, a canister and a mug tree usually span 24 to 30 inches, and a shelf slightly wider than the setup looks planned, while one that is narrower looks like an afterthought.
Floating shelves carry weight through a hidden bracket, so screw the bracket into studs wherever you can. Ceramic mugs and full glass jars add up fast; ten mugs can easily weigh 7 to 10 pounds. Where there is no stud, use anchors rated for more than the load and stay within the shelf maker's limits.
Shelves with hooks underneath, such as the floating wall shelves with 10 mug hooks, store on two levels at once: cups hang below while canisters or a small plant sit on top. Leave about 5 inches below the shelf for hanging mugs and keep the hooks clear of the brewer's lid.

A two-tier shelf that sits on the counter is the quickest coffee shelf to set up. It needs no tools, moves with you and turns one strip of counter into two levels, which is often all a small coffee corner needs.
Put it beside the brewer rather than over it unless the top tier clears the open lid. The lower tier suits things you grab every morning, such as a canister, pods and a sugar jar. The upper tier is for mugs, a small plant or a jar of stirrers.
Wooden tier shelves like the Giikin 2-tier wooden coffee station organizer and the Anboxit 2-tier wooden coffee station shelf are made to stack the coffee area upward, and wood warms up a white or gray kitchen. Before choosing one, check its height against the gap below your upper cabinets and its depth against the counter in front of it.
A tier shelf saves space only if it replaces the things that were spread across the counter. If the old jars stay put beside it, the counter just gets more crowded.
When the counter is already full, a shelf unit on the floor can be the coffee bar itself. A narrow rack beside the fridge, at the end of a run of cabinets or in a dining nook takes the brewer, mugs and supplies off the counter entirely.
The usual problem with a freestanding coffee shelf is the cord. The SUPERJARE 4-tier bakers rack with power outlet has an outlet built in, so the brewer can plug into the rack instead of trailing a cord across the floor. Plug the rack itself straight into a wall outlet, not into another power strip.
Put the brewer on the shelf closest to counter height, roughly 34 to 38 inches from the floor, so pouring feels natural. Daily mugs and supplies go just above it, backstock and filters go on the lowest shelf, and the top shelf holds light, rarely used things.
Load the heaviest items low, and if the rack is tall and narrow, attach it to the wall with any strap the maker provides. For more setups that skip the counter entirely, see our guide to a coffee station without counter space.
Small kitchens rarely have a neat empty wall. A coffee shelf needs very little width, though, so awkward spots often work best.
Corner: two short shelves that meet in a corner, or one corner shelf, use space cabinets tend to waste. Keep the brewer on the counter in front and use the shelves for mugs and canisters, since reaching deep into a corner is awkward.
Beside a window: a narrow column of shelves, 8 to 12 inches wide, between a window frame and a cabinet holds a mug or two per shelf, or a few canisters.
End of a cabinet run: the short stretch of wall past the last upper cabinet can take a slim shelf or a mug rack. The 17 inch wall-mounted coffee mug rack fits a narrow strip like this and moves mugs out of the cabinet.
Inside a cabinet: if there is an upper cabinet next to the brewer, a small riser inside it turns one cabinet shelf into two. Close the door and the coffee bar disappears.
A coffee shelf stays tidy when every level has a job. The rule is simple: the more often you use something, the closer it lives to the brewer and to eye level.
Coffee beans and grounds keep best away from heat, light and air. Store them in an airtight canister, and keep it off the shelf directly above the brewer, where steam and warmth rise. The Veken airtight stainless coffee canister has a small window, so you can see how much is left without opening it.
Count the mugs you actually use. Most households reach for the same three or four, so those stay out and the rest go back in a cabinet. A shelf holding every mug you own looks cluttered and leaves nowhere to set things down.
The shelves that look calm in photos follow a few patterns that are easy to copy.
Group in odd numbers and vary the height. Three items, one tall, one medium and one low, read as a single arrangement. A row of identical jars reads as storage, which is fine on the top shelf but flat at eye level.
Lift bottles on a riser. Syrup bottles in a single line hide each other's labels. A stepped stand such as the 3-step countertop syrup and bottle shelf raises the back row so every label shows, and it keeps sticky bottles in one spot that is easy to wipe.
Leave about a third of each shelf empty. Open space makes the items on it look chosen, and it gives you somewhere to set a mug down while the coffee brews.

Coffee corners often sit in the darkest stretch of counter. A small light makes the shelf easier to use before sunrise.
Rechargeable bar lights are the simplest fix because they need no wiring. The MCGOR rechargeable under-cabinet lights are magnetic, motion-sensor bars sold as a 2 pack, so one can go under the shelf above the brewer and the other under a second shelf or inside a dark cabinet. Recharge them when they start to dim.
Warm white light flatters wood shelves and ceramic mugs more than a cool blue-white does.
A working coffee shelf fits almost any budget. The difference between tiers is mostly how permanent it is and how much it holds.
Low: use what you have. Clear one shelf of a bookcase or cabinet, add a tray to define the coffee area and hang mugs on a few adhesive hooks. A single countertop tier shelf is the one purchase worth making at this level.
Medium: one or two floating shelves above the brewer with hooks underneath, an airtight canister and a riser for syrups. This is the setup most small kitchens need, and it usually goes up in an afternoon.
Splurge: a freestanding rack with built-in power, matching canisters, under-shelf lighting, or a run of open shelves built to fit your brewer and mugs exactly.
Renters can get most of the medium look without drilling: a countertop tier shelf, a mug tree and rechargeable lights all come out without a trace. Our guide to coffee station ideas for renters goes further, and coffee bar on a budget covers keeping the whole setup low cost.

Most shelf problems come from a few small, avoidable choices.
Floating shelves with adjustable hooks underneath, made for a coffee nook.
Check price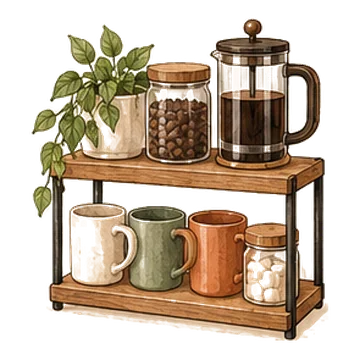
A two-tier wood shelf that stacks coffee supplies on the counter.
Check priceA two-tier wooden countertop shelf that stacks the coffee maker area upward.
Check price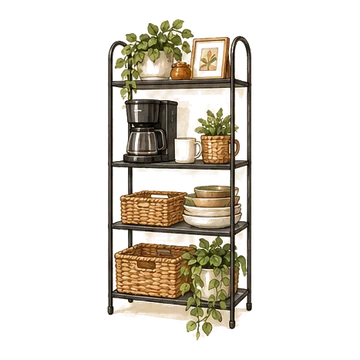
A four-tier rack with a built-in power outlet that works as a standalone coffee bar.
Check price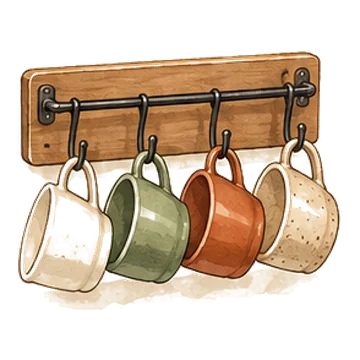
A heavy-duty 17 inch rack that hangs mugs on the wall instead of in a cabinet.
Check price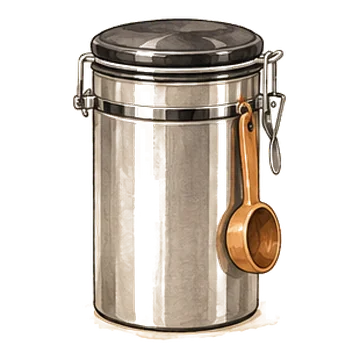
An airtight stainless steel canister with a small window to see how much coffee is left.
Check price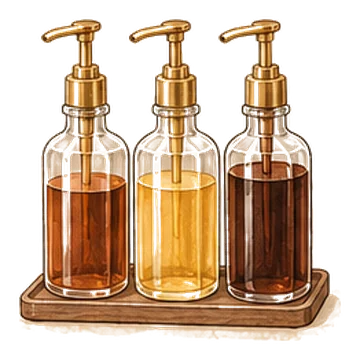
A three-step display shelf for syrups or bottles that keeps the coffee bar tidy.
Check price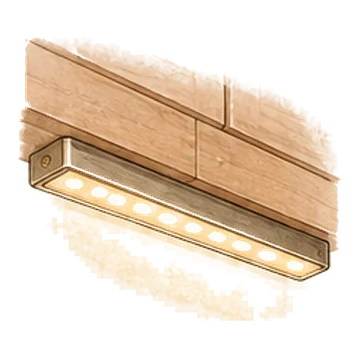
Two magnetic, motion-sensor LED bars that light a dark counter corner with no wiring.
Check priceMeasure your brewer with its lid or tank fully open and add about 3 inches. In many kitchens that puts the first shelf 18 to 20 inches above the counter, in line with the bottom of the upper cabinets.
8 to 10 inches deep holds mugs, canisters and syrups. Avoid going much deeper than 12 inches above a counter, where the shelf starts to crowd the brewer and your head.
12 to 14 inches apart fits mugs, canisters and most syrup bottles with room to lift them out. Measure your tallest item and add 2 to 3 inches to be sure.
Yes. Countertop tier shelves, freestanding racks, mug trees and rechargeable lights all work without putting holes in the wall.
Yes, as long as the lid opens fully and there are a few inches of space above it. Check your brewer's manual for clearance, and pull it forward while brewing if steam hits the shelf.
Daily mugs, an airtight canister, sugar, the pods you are using, syrups and one plant or decorative piece. Keep backstock on the highest or lowest shelf.


