
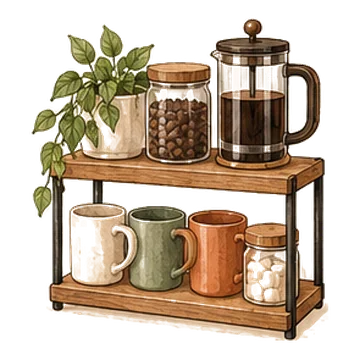
Anboxit 2-tier wooden coffee station shelf
A two-tier wooden countertop shelf that stacks the coffee maker area upward.
Check priceA small coffee bar is one brewer, the supplies you reach for every morning and a place to set a mug down. This guide shows how to measure for one, set it up in an afternoon and choose the version that fits your kitchen, whether you have no counter at all, a rental lease, a tight budget or a drawer full of pods.
As an Amazon Associate I earn from qualifying purchases. Links on this page are affiliate links: if you buy through them, I may earn a small commission at no extra cost to you.

Most small coffee bars fit in a stretch about 18 to 24 inches wide. That is enough for a brewer, one canister and a couple of mugs, as long as the wall above does some of the work. The goal is not to find more room. It is to decide what earns a spot in the room you already have.
Think in three zones. The brew zone is the machine and its water. The stock zone is coffee, pods, filters and sugar. The serve zone is mugs, spoons and anything for milk. Put the brew zone closest to the outlet, keep stock right beside it, and send mugs up the wall or onto a hook so they stop eating counter space.
If you only do one thing this weekend, clear one corner, set the brewer on a tray and move everything you use every morning within one arm's reach of it. Everything else in this guide builds on that.
Which version to start with depends on your main problem. With a free counter corner, start with a tray and a two-tier shelf. With no counter at all, start with a cart or a rack. If you rent, favor freestanding pieces. If the issue is clutter rather than space, organize what you have before buying anything.
Most frustrations with a small coffee bar come from a piece that almost fits. Ten minutes with a tape measure saves a return.
Start with the machine, and measure it while it is in use. Open the lid of a pod brewer or swing out the basket of a drip maker, measure the full height, then add a couple of inches so steam has somewhere to go. Measure depth with the water tank and drip tray attached, and check how far the cord reaches.
Then measure the spot. A standard kitchen counter is about 24 to 25 inches deep and 36 inches high, and upper cabinets usually start about 18 inches above it. If the brewer is taller than that gap once the lid is open, you will have to slide it forward every time you brew, so pick a spot without cabinets overhead or plan on a pull-out habit.
For shelves above a coffee bar, 12 to 15 inches between shelves fits most mugs and canisters with room to lift them out. Shelves 8 to 10 inches deep hold mugs and jars without jutting into your head space. For a cart or rack, make sure the base fits the floor gap with a little room on each side so it rolls out without scraping.
Count outlets too. A brewer, a grinder and a kettle sharing one outlet gets crowded fast, and many appliance manuals ask that heating appliances plug straight into a wall outlet rather than an extension cord or power strip.
Plan about two hours for the first setup, and expect most of that to go to clearing and wiping. Work in the order you use things each morning, so the routine runs left to right or right to left without doubling back.

Having no counter to spare is the most common small-kitchen problem, and it has more answers than people expect. The aim is to give the brewer one sturdy, flat surface near an outlet, then move everything else to the wall, a door or a drawer.
Before buying anything, check what you can borrow. A small bookcase, a dresser or a sideboard that already sits near an outlet can hold a brewer on top and supplies inside, and it costs nothing.
A rolling cart is the most flexible fix. The Amazon Basics 3-tier rolling cart with lockable wheels holds the brewer on top and supplies on the lower tiers, and it can live beside the fridge, at the end of a cabinet run or in a dining room corner. Lock the wheels before brewing so the cart stays put while hot water pours.
Other options include a freestanding bakers rack, a sideboard or dresser borrowed from another room, wall shelves above any narrow piece of furniture near an outlet, and a cabinet where the machine is stored and pulled forward to brew.
Our full guide to a coffee station without counter space walks through each of these setups, a quick fit test to run before buying anything, and how to handle cords, steam and spills safely.
A coffee bar does not need new furniture. Start with what you already own: a sheet pan or cutting board as a tray, a few matching jars, a small bookshelf or nightstand from another room, and the mugs you actually like. Then spend only on the one thing that solves a real problem, like a canister that keeps coffee fresh or a cart for a kitchen with no counter.
A simple way to plan is in three tiers, and you can stop at any of them.
Secondhand is worth a look for the one furniture piece. A solid wood nightstand, small dresser or hutch often holds more than a new cart. Check that it does not wobble, that the drawers slide, and that the top sits at a comfortable height for pouring.
Shelves turn a blank wall into most of a coffee bar. Floating shelves with hooks underneath, like the floating wall shelves with 10 mug hooks, hold canisters and a plant on top and hang mugs below, so one wall piece does two jobs.
Hang the lowest shelf about 18 to 20 inches above the counter, roughly where an upper cabinet would start, so you can still use the counter beneath it. Leave 12 to 15 inches between shelves. Wall studs in most US homes sit 16 inches apart, and a shelf that will carry full canisters and mugs should be screwed into them. Drywall anchors are fine for light decor, not for a loaded shelf.
On the counter, a small two-tier shelf gives syrups, pods and sugar a second level without hanging anything. Keep heavy things on the bottom level and the items you reach for daily at the front.
Our coffee bar shelf ideas article goes deeper into ladder shelves, pegboards, corner shelves and how to style open shelving so it reads as a display rather than clutter.
A pegboard is the other wall option worth a look. Hooks, small shelves and baskets can be moved around as your routine changes, which suits anyone still figuring out what they reach for every day.

A small coffee bar stays tidy when every item has one home and backups live somewhere else. Keep about a week of coffee, pods, filters and sugar at the bar and the rest in the pantry. Refill once a week instead of squeezing whole boxes onto the counter.
Group by how often you use things. Daily items go front and center at hand height. Weekly items, like extra filters or descaling solution, go in a drawer or a bin. Seasonal mugs and syrups rotate in and out instead of all staying on display.
One station that corrals the small things usually beats a dozen little containers. The Mind Reader cup & condiment station holds cups, lids, stirrers, sugar and pods in a single 17.9 by 9.5 inch footprint.
The coffee bar organization ideas guide has a zone-by-zone plan, labeling tips and a short weekly reset routine.
Label the backup bins in the pantry, too. When everyone in the house knows where the refills live, the bar gets restocked without anyone asking.
In a rental, the best coffee bar is one you can pack up on moving day without patching a single hole. Freestanding pieces do most of the work: a rolling cart, a bakers rack, a small bookcase or a dresser that sits near an outlet.
Keep mugs off the wall with a countertop mug tree such as the MyLifeUNIT mug holder tree, 6 hooks, which frees up a whole cabinet shelf. Use adhesive hooks only for light things like a towel, and follow the maker's removal instructions so you do not pull paint when you move out.
Lighting and finishes can be temporary too. Rechargeable light bars that attach magnetically need no wiring, and peel-and-stick backsplash tiles can make a corner look finished. Test a small, hidden piece first, and check your lease or ask your landlord before covering a wall.
Our guide to coffee station ideas for renters covers damage-free mounting, what to ask before you drill, and setups that move with you to the next place.
A cart is especially useful for renters because it moves to the next kitchen, where the layout will be different. Choose one with lockable wheels and a top tier wide enough for your brewer's full footprint.
Pods are small, but their boxes are not. The first fix costs nothing: take the pods out of their boxes, keep about a week's worth at the bar and store the rest in the pantry.
The most space-efficient holders use space you are already giving up. A drawer that sits under the brewer, like the Mind Reader 3-drawer coffee pod organizer, holds 36 single-serve pods and lets the coffee maker sit on top, so the storage adds a little height and no extra footprint. Similar under-machine drawers exist for espresso capsules.
Before you buy one, check two things: that the brewer's feet fit fully on top of the drawer, and that the added height still clears your upper cabinets with the lid open.
Other options are upright or carousel holders, a shallow basket in a drawer, or an over-the-door pocket organizer for backups. The full guide to organizing coffee pods in a small kitchen compares them and explains when each one makes sense.
To size any holder, count how many pods your household uses in a typical week and plan for that number, not for the size of the box you buy in bulk.
In a small space, an accessory earns its place when it saves room or replaces something bigger. Good examples are a pod drawer the brewer sits on, a mug rack that empties a cabinet shelf, an airtight canister in place of an open bag, and a handheld milk frother instead of a countertop frothing machine.
Light is the accessory people forget. Coffee corners often end up on the darkest stretch of counter, under a cabinet or in an alcove. Rechargeable motion-sensor bars like the MCGOR rechargeable under-cabinet lights, 2 pack attach magnetically with no wiring and turn on when you walk up in the morning.
Skip anything that only fills space, like oversized signs or a row of matching bins with nothing to put in them. For a short list of the pieces that make the biggest difference in a tiny kitchen, see our page on the best coffee bar accessories for small spaces.
If you like cafe-style drinks, a few small pieces cover most of it without a bigger machine: a rechargeable handheld frother on its own stand, glass pump bottles for syrups lined up on a stepped shelf so the back row stays visible, and lidded glass cups for iced coffee.

Most small coffee bars that do not work fail for the same handful of reasons, and each one is easy to fix once you spot it.
If your corner already feels crowded, take everything off, put back only what you used in the last week, and live with that for a few days before adding anything new.
Another quiet mistake is putting the coffee bar far from the sink. Every refill then means a walk across the kitchen with a dripping water tank. If the only good spot is across the room, keep a pitcher of water at the bar.
A two-tier wooden countertop shelf that stacks the coffee maker area upward.
Check price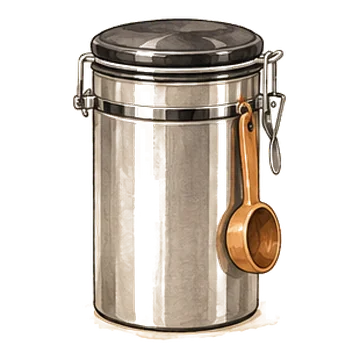
An airtight stainless steel canister with a small window to see how much coffee is left.
Check price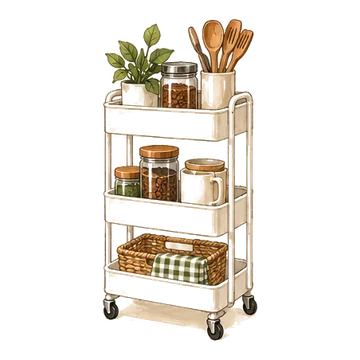
A metal three-tier cart on lockable wheels that rolls a coffee setup wherever there is room.
Check price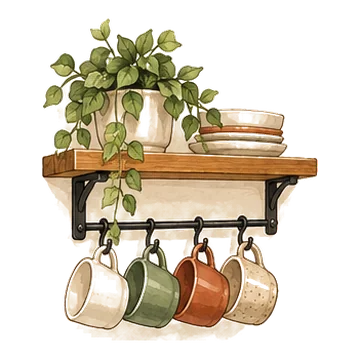
Floating shelves with adjustable hooks underneath, made for a coffee nook.
Check price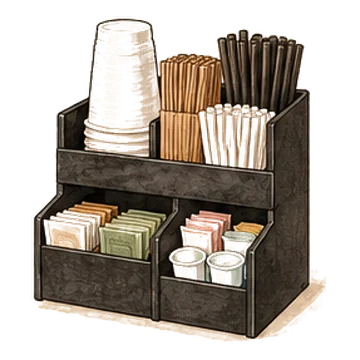
A black countertop organizer for cups, lids, stirrers, sugar and pods.
Check price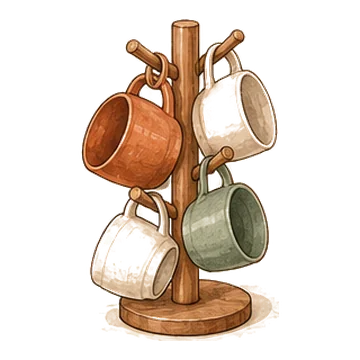
A black mug tree with six hooks that frees up a whole cabinet shelf.
Check price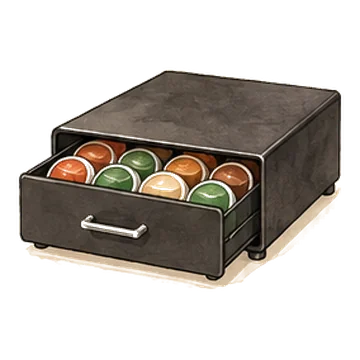
A low countertop drawer that holds 36 single-serve pods and lets the coffee maker sit on top.
Check price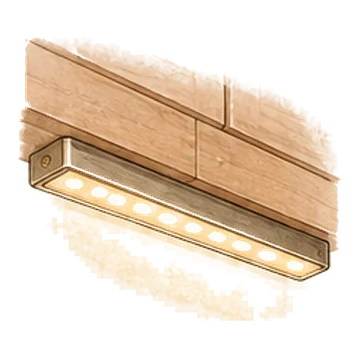
Two magnetic, motion-sensor LED bars that light a dark counter corner with no wiring.
Check priceAbout 18 to 24 inches of width is enough for a brewer, a canister and a couple of mugs, especially if mugs and supplies go on the wall above. With no counter at all, a rolling cart or a small rack near an outlet works.
Pick a spot near an outlet, out of the main path between the fridge, sink and stove, and ideally near the sink for refilling water. The end of a counter run, the gap beside the fridge or a dining room corner all work.
You can store it there, but pull it forward to brew if the lid opens close to the cabinet. Steam rising into the same spot every day can damage the finish over time.
Hang the lowest shelf about 18 to 20 inches above the counter and leave 12 to 15 inches between shelves. That fits most mugs and canisters and keeps the counter underneath usable.
Limit what is on display to what you use daily, decant coffee into one canister, keep a tray under everything and store backups in the pantry. Two or three colors and one material, like wood or black metal, also make a corner look calmer.
People use the terms loosely. A coffee station usually means just the brewer and supplies, while a coffee bar often adds mugs on display, syrups, decor and sometimes a small fridge or seating nearby.


