
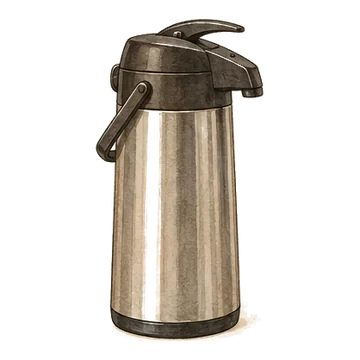
3L pump airpot carafe
A 102 oz pump airpot that keeps hot cocoa or coffee ready for guests.
Check priceA hot cocoa bar is one corner of the counter, one way to keep cocoa hot and a handful of toppings in jars. This guide walks through the setup step by step, how much cocoa and toppings to plan per guest, and a prep timeline so nothing is rushed when people arrive.
As an Amazon Associate I earn from qualifying purchases. Links on this page are affiliate links: if you buy through them, I may earn a small commission at no extra cost to you.

Every hot cocoa bar, from a weeknight movie night to a 30-person open house, comes down to five things: cocoa that stays hot, mugs, five or six toppings, spoons and napkins, and small labels. Everything else is decoration.
Plan about an hour to set up the bar itself and another 20 to 30 minutes to make a big batch of cocoa on the stove. Most of the setup, including mugs, jars, labels and decor, can be done the day before.
For a weeknight, scale it all the way down: a tray with a pitcher of cocoa, a mug for each person and three toppings. It takes five minutes and still feels like an event to kids.
You do not need a dedicated table. A clear stretch of counter about three to four feet wide holds a carafe, a row of mugs and five or six jars without crowding. Pick a spot within reach of an outlet, since most ways of keeping cocoa hot need power.
Keep the bar away from the stove and the main prep area so guests can serve themselves without getting in the cook's way. The end of a kitchen island, a dining room sideboard or a sturdy console table near the living room all work.
Think about traffic. People linger while they build a mug, so leave standing room in front and keep the bar out of the path to the fridge and the back door. If you can, arrange it so guests move along it in one direction.
In a small apartment, a bar cart, a bookshelf with one cleared shelf or a desk near an outlet can stand in for the counter.
Set the bar up in the order guests will use it, so nobody has to reach across a hot pot to grab a mug or backtrack for a spoon.

Cocoa made with milk on the stove tastes richer than packets stirred into water, and it is not much more work. The base ratio is 2 tablespoons of unsweetened cocoa powder and 2 tablespoons of sugar per cup of milk, plus a small pinch of salt. Add a splash of vanilla at the end.
To scale it, think in gallons. One gallon of milk is 16 cups, so it takes about 1 cup of cocoa powder and 1 cup of sugar, and it makes roughly sixteen 8-ounce servings.
Whisk the cocoa, sugar and salt with about a cup of the milk into a smooth paste first, then add the rest. Cocoa powder clumps if it goes straight into a full pot. Heat over medium-low and stir often, because milk scorches on the bottom of the pot if it boils.
Natural and Dutch-process cocoa both work. Dutch-process is darker and milder; natural cocoa tastes a little sharper. For an extra-rich version, melt a few ounces of chopped chocolate into the finished pot.
For a hands-off option, make the cocoa in a slow cooker such as the Crock-Pot 7qt manual slow cooker. Whisk everything together, heat on low until steaming, usually about two hours, stirring every half hour, then switch to warm for serving.
There are three practical options, and the right one depends on how many people you are serving.
For up to about six people, an automatic maker like the Capresso froth PRO milk frother & hot chocolate maker makes fresh cups at the push of a button. It is easy, but it works in small batches, so it is not built for a line of guests.
For a party, make a big batch on the stove and pour it into an insulated pump airpot. The 3L pump airpot carafe holds 102 ounces, about twelve 8-ounce servings, and guests can serve themselves with one hand. Fill the empty carafe with very hot water for 10 minutes first and pour it out, so the cocoa is not cooled by cold walls.
An airpot is insulated, not heated, so plan to swap in a fresh hot batch every couple of hours. For the largest groups, or an all-afternoon open house, a slow cooker set to warm keeps a gallon or more hot. Stir it now and then so a skin does not form, and set a ladle on a small plate beside it.
Whatever you use, follow the usual food-safety rule for milk: keep it hot, and do not let it sit at room temperature for more than two hours. Replace old cocoa with a fresh batch instead of topping it up.
Most guests drink one or two mugs over an evening, and refills tend to be smaller. A good planning number is 12 to 16 ounces of cocoa per guest, which works out to about one gallon of milk for every 8 to 10 people.
In a 16-ounce mug, pour 10 to 12 ounces of cocoa and leave the top few inches for marshmallows and cream. Filled to the brim, toppings slide straight onto the counter.
Toppings go further than you might expect, because most people pick two or three, not all of them. Count servings rather than guests, and round up for the one or two toppings everyone wants.
Pick five or six toppings rather than putting out everything. A focused bar looks generous, while a dozen half-empty bowls look picked over by the end of the night.
Store dry toppings in glass jars with lids, such as the KooK 29 oz glass storage jars, so they stay fresh and the lids go back on between guests. Crushed peppermint pulls moisture from the air and turns sticky in an open bowl, so it especially needs a lid.
Cover the textures: something soft like marshmallows and cream, something crunchy like cookies or toffee, something drizzled like caramel, and something for color like sprinkles.

Put kid favorites at the front and at their height, and keep the cocoa itself toward the back of the counter. For younger kids, pour their cocoa yourself and add a splash of cold milk so it is warm rather than hot.
Pre-scooping toppings into small paper cups makes a kids' bar faster and far less messy. Each child gets a cup of marshmallows and a cup of sprinkles, and the jars stay clean.
For grown-ups, set up a separate small tray away from the kids' side with clearly labeled options such as peppermint schnapps, Irish cream, coffee liqueur or bourbon. About one ounce per mug is plenty, and a small jigger on the tray keeps pours even.
Make one small pot of dairy-free cocoa with oat or almond milk and label it clearly. Mark any topping that contains nuts, and check candy and toffee packages for allergen warnings if a guest has a nut allergy.
Spreading the work over a few days means the only real job on party day is making the cocoa. Use this as a rough schedule and drop the steps you do not need.
Matching mugs do most of the work. A set like the Snowman Christmas mugs, set of 6 instantly makes a corner look intentional, and at 16 ounces they leave room for toppings. Mixing two sets is fine as long as they share a color.
Add a sign that names the bar. The Hot cocoa wood block signs, 4 pieces stand on their own without a wall, which helps when the bar sits on an island.
Keep the palette to two or three colors, such as red, white and natural wood, or green and cream. Add height at the back with a garland, a small tree or a tiered tray, and use one string of warm white lights rather than several colors.
If you want guests to take something home, add a stack of small bags or jars and a scoop. A bag of marshmallows and crushed peppermint makes an easy party favor.

Most problems at a cocoa bar come from a few small choices that are easy to avoid once you know them.
Once the basics work, make it yours. Add a flavor your family loves, such as a pot of peppermint cocoa or a cinnamon cocoa with a pinch of chili, or a plate of homemade cookies. After the holidays, pack the jars, signs and labels into one bin, and next year the bar comes together in half the time.
A 102 oz pump airpot that keeps hot cocoa or coffee ready for guests.
Check price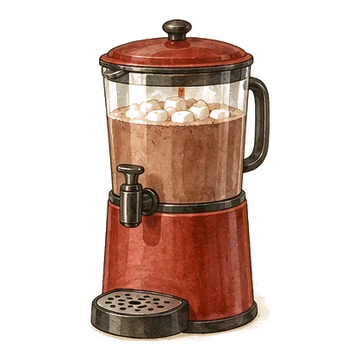
An automatic frother that heats milk and makes hot chocolate at the push of a button.
Check price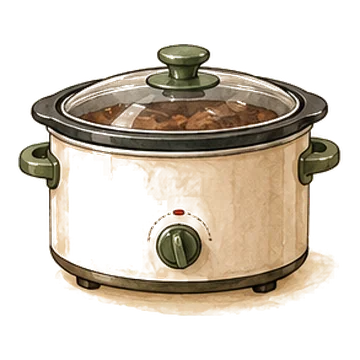
A no-fuss family-size 7-quart slow cooker: holiday chili, mulled cider, or keeping sides warm while you host.
Check price
Six 16 oz Christmas mugs with a snowman pattern for the whole family.
Check price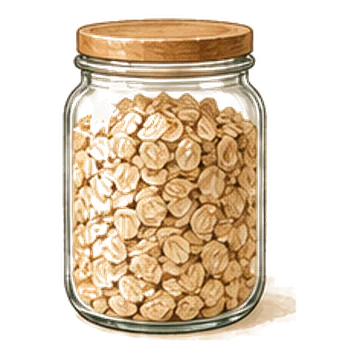
Two glass jars with lids for marshmallows, sprinkles and peppermints.
Check price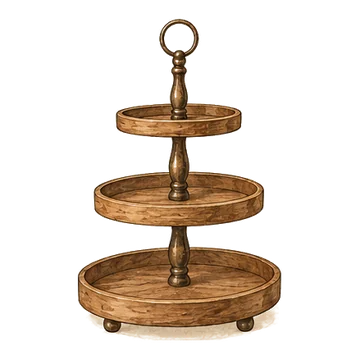
A three-tier wooden stand that stacks mugs, toppings and treats in a small footprint.
Check price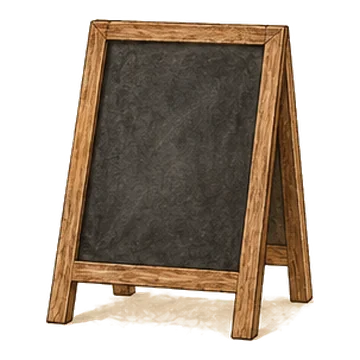
Twenty small framed chalkboards on easels for labeling every dish, topping or drink.
Check price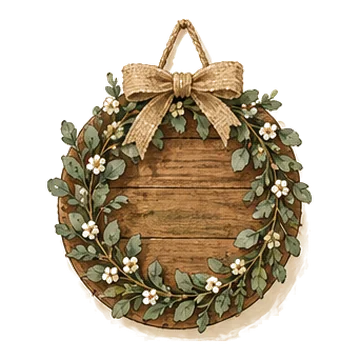
A 4-piece wooden block sign set that spells out the hot cocoa bar.
Check pricePlan on 12 to 16 ounces per guest over the evening, which is about one gallon of milk for every 8 to 10 people. A 3-liter carafe holds about twelve 8-ounce servings.
Use an insulated pump carafe and refill it with fresh hot batches, or a slow cooker set to warm for longer events. Replace, rather than top up, cocoa that has been out for two hours.
Yes. Set up the mugs, jars, labels and decor the day before, then make the cocoa and whip the cream within the hour before guests arrive.
Either works. Homemade cocoa made with milk tastes richer and scales easily, while a mix is faster. If you use a mix, stir it into hot milk instead of water for a creamier cup.
Hot cocoa is usually made from cocoa powder, sugar and milk, while hot chocolate is made by melting chocolate into milk or cream. Many people use the names interchangeably, and both work at a bar.
Ceramic mugs hold heat well and look festive. For a big crowd or an outdoor event, add insulated paper cups with lids so guests can walk around.


